Webinar Recap: Printing PCBs for Hands-On Learning
In a recent webinar, our Support Lead, Nathan Shinkar, demonstrated the printing process of a seven-segment display (99 decimal counter) using our PCB printer, V-One.
This project, designed by ITIZ, our authorized reseller in South Korea, aims to teach a fundamental aspect of electrical engineering: PCB development. It includes circuits for power regulation, pulse generation, and digital counting.
Webinar highlights
Overview of the software and the print workflow
Nathan began the webinar with an overview of the V-One software and one of its four workflows: Print. Before the live demonstration, he walked through several preparation steps, including:
- Loading the Gerber file
- Cleaning the X and Z positioner
- Clamping the FR4 board
- Mounting the probe
Project overview
While the Smart Probe created a height map of the FR4 board, Nathan showcased the final product and provided an overview of the project. It features three interconnected PCBs:
- Voltage regulator board
- Converts a 9V input into a steady 5V output, allowing students to compare linear and switching regulators.
- Pulse generator board
- Uses a 555 timer chip to produce pulse signals, which are sent to the final board to drive the counting circuit.
- Digital counter board
- Counts from 0 to 99 using seven-segment displays, with adjustable speed control and a reset button.


Live demonstration and Q&A
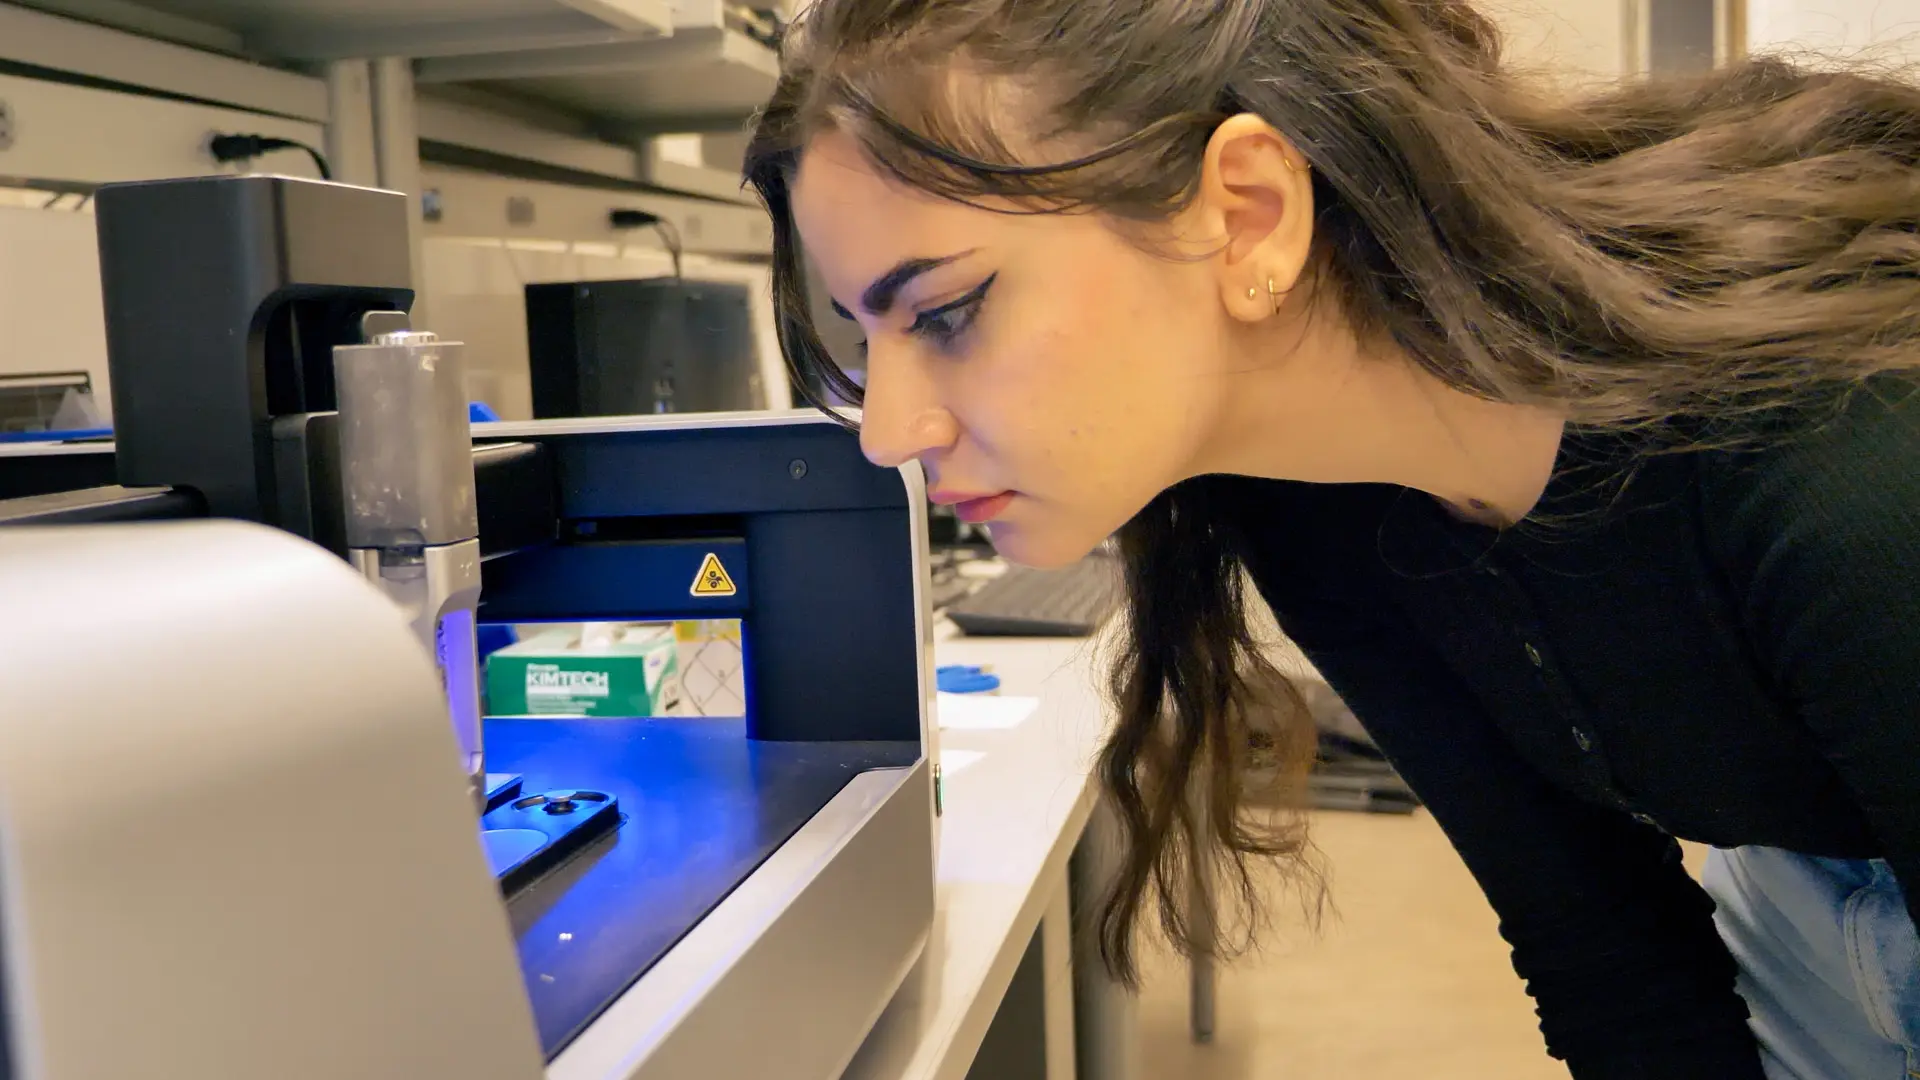
We demonstrated the printing process for the digital counter board. After calibrating the ink, V-One printed conductive traces on the FR4 board. The process took approximately 15 minutes, during which Nathan addressed attendee questions. Here are a few highlights:
- Can V-One print multiple layers?some text
- V-One supports two-sided PCB printing, including drilling functionality for vias and through-holes.
- What material was used in this project?some text
- The ink we used for this print is, Conductor 3, a silver-based and semi-sintering ink that provides strong conductivity after curing.
- What nozzles should be used? some text
- We generally recommend using a nozzle with a diameter that is at least six times larger than the average particle size in your ink.


Additional resources
Excited to try this project? Download Gerber files here. Interested in other projects to teach the basics of PCB prototyping? Check out these resources:
- Tutorial: Printing a Basic LED Circuit Using the V-One PCB Printer
- Tutorial: Printing a Punk Console Using the V-One PCB Printer
- White paper: Printing a Flexible PCB with Silver Ink on PET
- Video: Other Voltera webinars on additive electronics
To discuss your PCB prototyping needs, contact us at sales@voltera.io or book a meeting. To stay informed on upcoming webinars, subscribe to our newsletter!

Check out our Customer Stories
Take a closer look at what our customers are doing in the industry.

